204


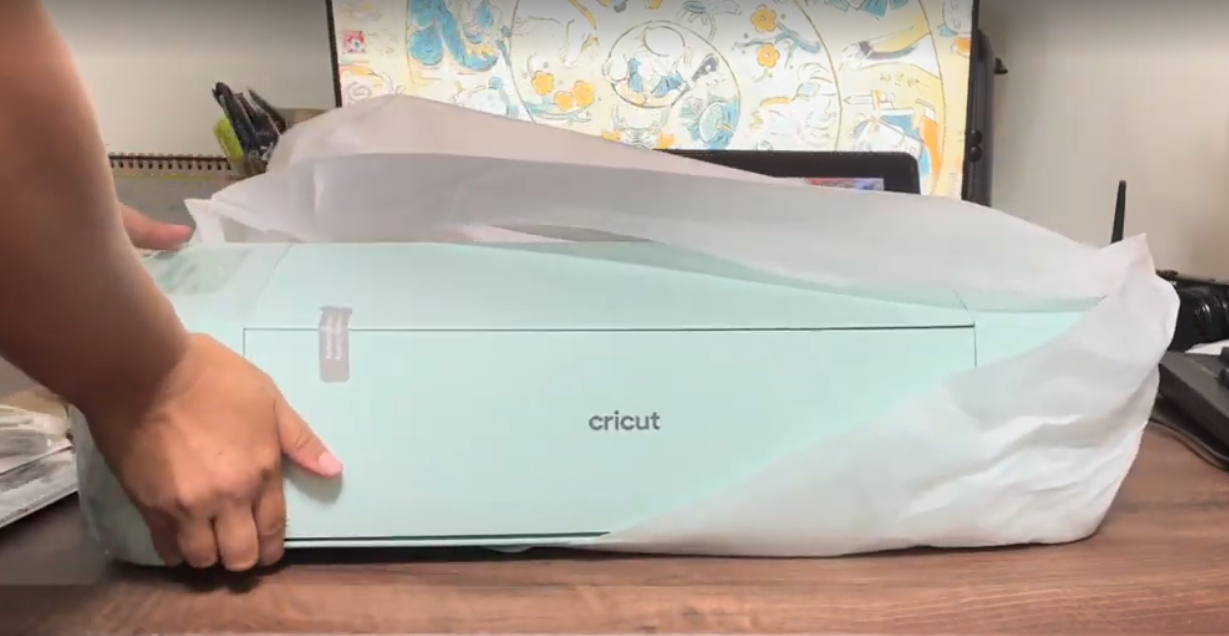
前陣子贊助了Cricut智慧切割機的方案,領到我熱騰騰的Cricut Explore 3了!
開箱Cricut第一天在跑機器的各種設定,看看Design space上的新手project教學。
有了印表機、Cricut智慧切割機,也買了一些紙類耗材,開始我的紙藝創作之路。
我想做貼紙,想做割卡,想做卡點西德! 還有好多Design space上有趣的project。
第一週的時間其實一直在Youtube上看Design Space教學影片,在Cricut的中英文社群裡爬文、不斷的試行錯誤。
除了debug機器連接上的問題、不停試紙試印看成品顏色成果,還有適應切割機校正。
了解到網路上那些成功的影片其實都是大家耗費心血的成果,展現出的一切其實都不容易。
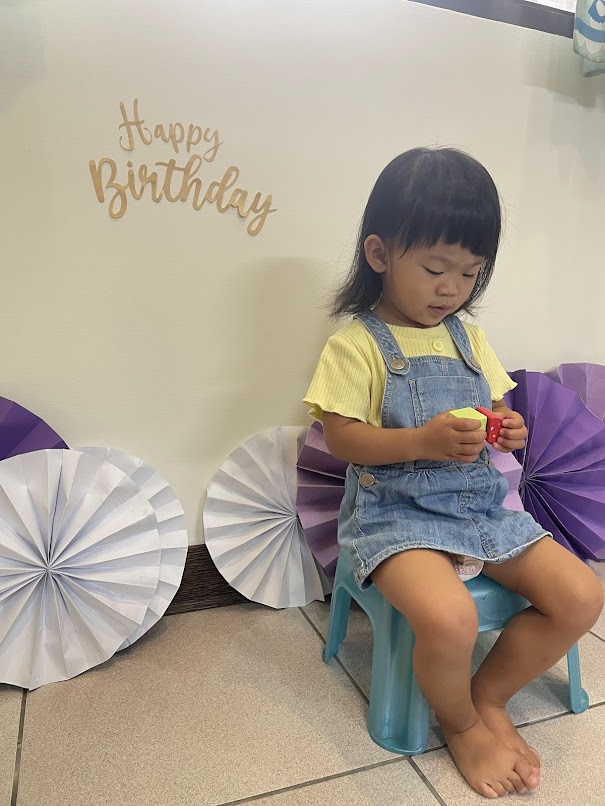
這次充滿紫色調佈置的小肉球兩歲慶生會也試著用Cricut切割一些紙類裝飾,未來可以玩的種類應該會越來越多。
如果你有喜歡我的作品,歡迎到我的賣場選購!